

If the application encounters a serious error from which it cannot recover, you may see this dialog displayed.
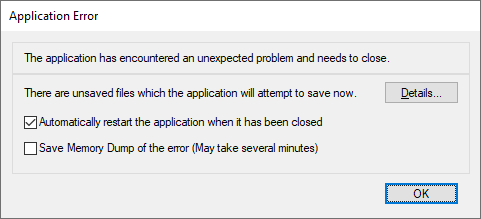
You can use this dialog to help you save any unsaved files you are currently working on, which should minimise the impact of the problem that the application has encountered.
Click Details to view the details of the files that the application will try to save. You will then see this dialog where you can see the files the application will try to save, as well as alter the settings used to save them.
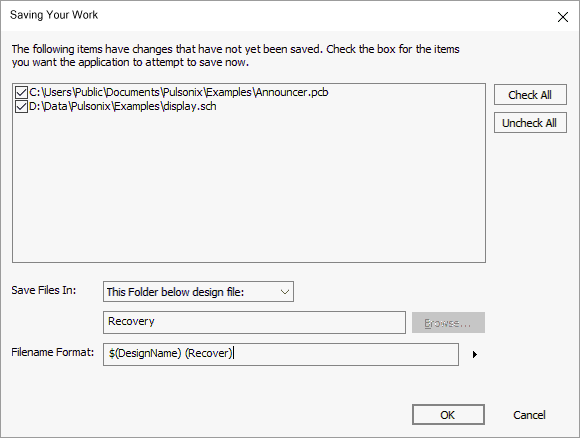
Shown in the list are the files waiting to be saved. You can uncheck the box alongside any of the files you do not want to attempt saving. It is possible that one of these files is actually the cause of the problem that the application encountered, but it should still be possible to save the other files before the application closes.
As well as the list of files to attempt to save, you can use the settings on this dialog to specify where the ‘recovery’ copies are to be saved, and how the files should be named. The default is to save them using their original file names in the original location.
Locating Crash Dumps
If you have selected the Save Memory Dump of the Error in the above dialog, you are instructed where the
saved file resides.
To locate this, use the contents of the clipboard at the time and paste it into the navigation bar of the
Windows Explorer, or type the location into the navigation bar using the command %Temp%/Pulsonix
If Pulsonix failed to save a memory dump, you can also look in the Windows location - %Temp%/CrashDump