

The options dialog allows you to set up any additional options that are available.
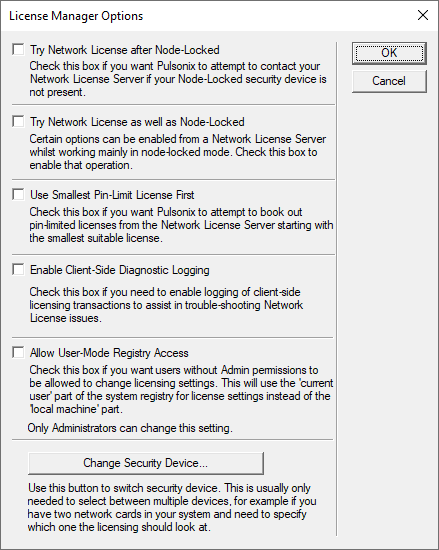
Try Network License after Node-Locked
Use this check box if you want Pulsonix to attempt to contact your Network License Server if your node-locked security device is not present.
Try Network License as well as Node-Locked
The Try Network License check box is available for those working in a “mixed” environment, where you usually use a node-locked security device but there is also a network license server available. In this case, you can set the check box to allow the program to try the node-locked device first, and if that is not available then try the network license.
Use Smallest Pin-Limit License First
The Use Smallest Pin-Limit License First check box is available for those working with a Network Licensing scheme where you have more than one level of ‘pin-limit’ license available. Setting this check box allows you to make the program book out the smallest available pin-limit license suitable for the design you are working on. With this check box unset, the default behaviour is to check out the licenses ‘largest first’.
Enable Client-Side Diagnostic Logging
Check this box if you need to enable logging of client-side licensing transactions to assist in trouble-shooting network license issues. You will only use this if instructed by a member of the technical team.
Allow User-Mode Registry Access
This check box is used if you want users without Admin permission to be allowed to change licensing settings. This will use the ‘current user’ part of the system registry for license settings instead of the ‘local machine’ part.
Only Administrators can change this setting.
Change Security Device
Use the Change Security Device button provides you access to a dialog that enables you to inspect security devices. This is important if you are having difficulty connecting to the lock type you expect or if the MAC address is not the one you expect.
Related Topics
License Manager | Network Licensing | Finding Serial Numbers | About Dialog