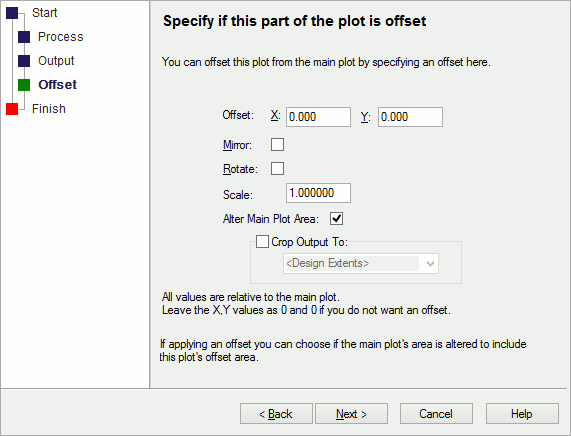
The Offset page is used to specify the location of an additional plot layer.
Using the Wizard

When you define a plot, you can add layers to build up the composite you require. Usually, you would want each layer to be plotted on top of the other layers. However, it is possible to offset some layers to effectively give you multiple views of the same design on one output. To do this you must specify the offset for some layers. It is up to you to ensure that these layers are offset sufficiently to avoid overlaps and produce a satisfactory result.
Note that the Offset, Mirror, Rotate and Scale are relative to the main plot, so they are applied in addition to any transformations applied to the main plot.
Use the Alter Main Plot Area switch to specify if the offset plot area will be added to the main plot area. If checked, and the main plot is using Auto Fit or Auto Shift, then the main plot positioning will change to include the appropriate area in this additional plot. If left unchecked the original positioning of the main plot will not be affected by the offsetting of the additional plot.
Use Crop Output To a defined named area to prevent items outside this area from being plotted. The cropping is only done crudely, so items that cross the area will be plotted. In general, this would be used for a set of items which form a coherent subset of the design which you would want to position within the overall plot.
Plot Wizard Pages
Start | Process | Output | Size | Position | Finish