Manual track routing in Pulsonix has been developed to be easy to understand and use. At the same time it is extremely flexible, so there are a number of features to become familiar with.
See the Insert Track help page for details on how to add tracks, and the Edit Track help page for details on how to add in the track segments.
Starting To Route Tracks Manually
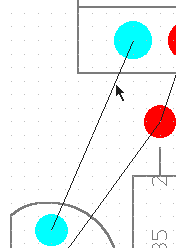
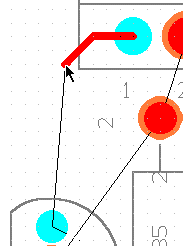
Pulsonix has been designed to make as many commands as possible either automatic or invoked from a shortcut menu off the right mouse button. So, in the case of manual routing we may start routing merely by selecting a connection in the layout using a double click of the mouse:
 |  | |
| Select connection | Double click the mouse to start routing |
Alternatively, select the Insert track icon from the PCB toolbar. Then select the connection and you are in insert track mode.
As you get close to the terminal point for the track you will see an ‘F’ appears on the cursor. This is a modal cursor and shows that the track can legally finish at the point at which the cursor is over. As soon as the ‘F’ appears then a single click on the mouse will complete the track connection automatically.
Features
The following is a list of some of the manual route features:
- Can start and end on other tracks (T-Junctions)
- Easy track completion
- Change layer whilst routing
- Track segment width changes
- Merge Nets
- Automatically share track segments
- Easy addition of stub routes to power planes
- Automatic addition of corners
- Automatic addition of 90 degree mitres or fillets
- Shows connection to nearest point on net
- Uses finish markers to indicate where you can complete tracks
- Removes track loops
- Can avoid accidentally merging nets
- Choice of segment modes
- Easy flip between XY and YX segments
- Un-stitch segments feature
- On-line DRC
- Display of DRC gaps (clearances)
- Good grid control
See the Edit Track help page for more details on these.