The Designs To Vault page of the Vault Manager dialog helps you to migrate your design data into the Vault.
Choosing files

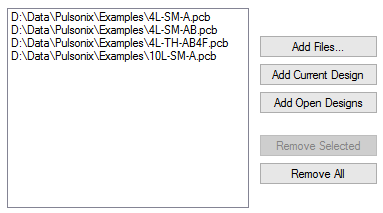
The first step is to select the files which are to be checked into the Vault.
Use the buttons to populate the list with the names of the files you wish to process.
- Add Files - browse to specific files to be added to the list.
- Add Current Design - adds the name of the top most open design
- Add Open Designs - adds the name of all currently open design files
Settings

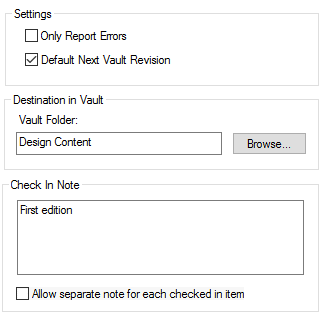
Several settings are provided to allow you to control how the items are checked into the Vault.
- Only Report Errors - the report produced at the end of each run can contain full details of what has happened, or only the errors found.
- Default Next Revision - leave this box ticked to check in your design files using the default next revision name. Uncheck the box to be prompted to enter a specific revision name.
- Vault Folder - choose the Vault folder for the destination of your files.
- Check In Note - this is the comment added to the Audit Trail record for the items checked in. You can add a separate note for each item being checked in by enabling the Allow separate note for each checked in item option and you will be prompted for each note in turn.
Check and Transfer

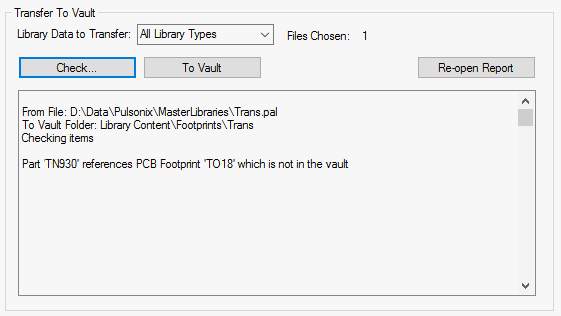
Once you have chosen the files you wish to process and altered any settings you wish to change, you are ready to begin processing the files.
- Check - Each of your files will be examined to see if can be checked in, following the rules for item referencing as defined on the Vault Setup dialog.
- To Vault - Each of your files will be checked in, again following the rules for item referencing.
Show full file path
You can expand the Transfer To Vault list to show the full path by selecting the Show full file path check box.
Related Topics
Vault Overview | Browser | Libraries to Vault | Designs to Vault | Generic Files to Vault | Audit Trail | Import Vault Libraries | Export Vault Libraries