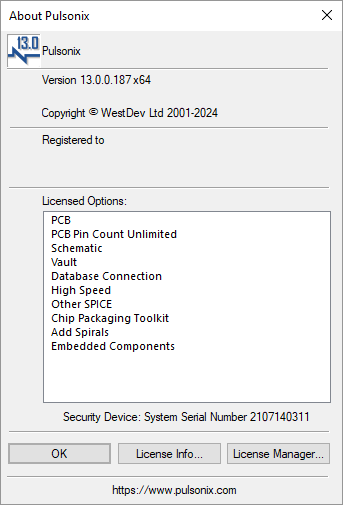
This dialog displays information about the Pulsonix program such as the version, as well as a list of the main product features installed.
Shortcuts
Default Keys: None
Default Menu: Help
Command: About Pulsonix
Locating this option
Available from: Help menu > About option
Using this Dialog

Licensed Options
This is a list of your currently licensed options. These will be licensed features according to those purchased or provided free of charge.
If you are using Network Licensing, the features shown on this dialog as ‘Licensed Options’ are those options for which licenses are known to the Network License Server. Depending on how many of each licenses is available, and what the other users on the network are doing at the time, you may find that a license is not actually free when you come to use that particular option.
The Security Device: field will show you how you are connected to a license (HASP Security Key, Network License etc.( and the license number.
License Info
This opens the License Information page. This displays crucial information about the system and HASP Key drivers installed.
License Manager
Clicking the License Manager button enables you to add or change product Licenses. You can also run the License Manager application from the same location as the other Pulsonix programs on the Start menu. When selected, a warning displayed to show you that Pulsonix is already running, you can confirm that you wish to run the License Manager or Cancel from this back to the About dialog. Any changes made to the license in the License Manager will require a restart of Pulsonix to become active.
Note, the License Manager has it’s own help page as it is a standalone application.
Web Site URL
This shows you the Pulsonix web site URL. This is an active link and by clicking on it, will open the Pulsonix web page in your web browser.