Used to insert an ellipse shape into the design. Ellipses can be in the form of a Shape, a Board, an Area, or a Construction Line.
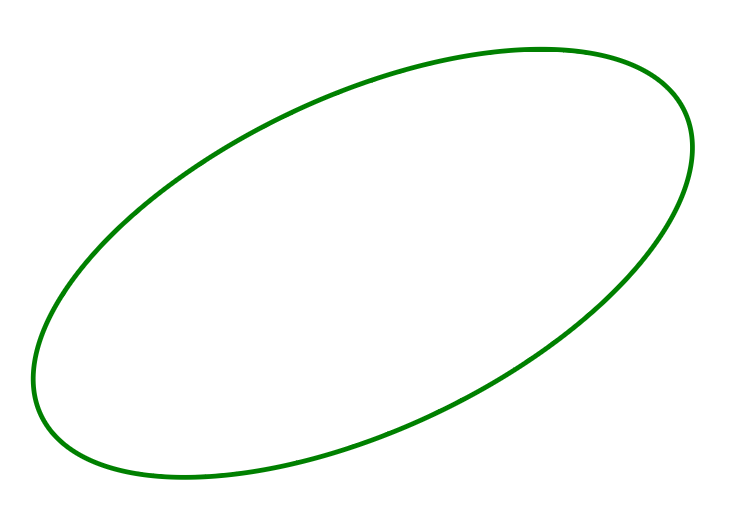
An example Ellipse Shape:

Shortcuts
Toolbar:
Default Keys: None
Default Menu: Insert
Command: Insert Shape Ellipse
Toolbar:
Default Keys: None
Default Menu: Insert
Command: Insert Board Ellipse
Toolbar:
Default Keys: None
Default Menu: Insert
Command: Insert Area Ellipse
Toolbar:
Default Keys: None
Default Menu: Insert
Command: Insert Construction Line Ellipse
Locating this option
Available from: Insert menu > Shape Ellipse option
Available from: Insert menu > Board Ellipse option
Available from: Insert menu > Area Ellipse option
Available from: Insert menu > Construction Line Ellipse option
How To Insert an Ellipse
From the Insert menu, select Board, Shape, Area or Construction Line and the Ellipse option.
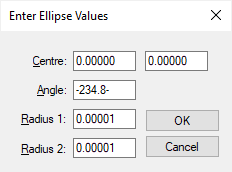
At any point during the creation or editing of an ellipse, the Enter Ellipse Parameters command can be used from the context menu. This will display the centre position, angle, and two radii of the ellipse, as well as bypassing the interactive creation of the ellipse. You can edit these values for the ones you require.

Start the Ellipse shape manually, select the start point in the design using the mouse.
- Move the cursor to define the size of the First Radius as well as the Angle of the ellipse. An ellipse can be defined from the centre or edge to edge by toggling the Define from Centre command in the context menu.
- You can move the cursor in any direction but will be constrained to 45 degree angle steps unless the Free Movement command is toggled in the context menu.
- Press the mouse to finish defining the First Radius and the Angle.
- The Second Radius of the ellipse will then become active and allow changes. Again, this is done moving the cursor. The radius will be equal to the distance from the centre of the ellipse to the cursor.
- Single press to finish defining the Second Radius.
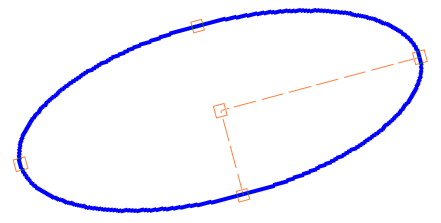
After the two radii and the angle have been set, the ellipse can be edited. Four handles will appear on the perimeter of the ellipse, which can be dragged with the cursor to change the corresponding radius. The centre handle can be used to move the ellipse while in the edit state.

A handle may be selected by selecting it with the mouse. A handle will become highlighted, along with the one opposite, to indicate that it is selected. With a handle selected, the commands Enter Radius and Enter Diameter will be available from the context menu and can be used to manually enter the size of the radius.
The angle of the ellipse can be modified in the edit state by using either the Rotate About or Enter Angle commands. The Rotate About command will cause the ellipse to rotate towards the cursor similar to how it does when first creating the ellipse.
The two radii and the angle are displayed in the Status Bar to show the ellipse’s dimensions during creation.
Related Topics
Insert Shape | Insert Construction Line | Properties - Shape Items